- Key Takeaways
- Understanding Hot Foil Stamping Basics
- Essential Tools and Materials for Hot Stamping
- Preparing Hot Stamping Artwork
- Choosing the Right Foil Types and Colors
- Design Considerations for Hot Stamping Success
- Step-by-Step Hot Stamping Process
- Color Selection and Matching Techniques
- Troubleshooting Common Hot Stamping Issues
- FAQ
- What makes hot stamping different from other printing methods?
- What are the common applications and uses of hot stamping?
- What are the essential tools and materials required for hot stamping?
- What are the requirements for preparing artwork for hot stamping?
- How do I choose the right foil types and colors for my hot stamping project?
- What are the key design considerations for successful hot stamping?
- Can you walk me through the step-by-step hot stamping process?
- What are some common issues in hot stamping and how can they be addressed?

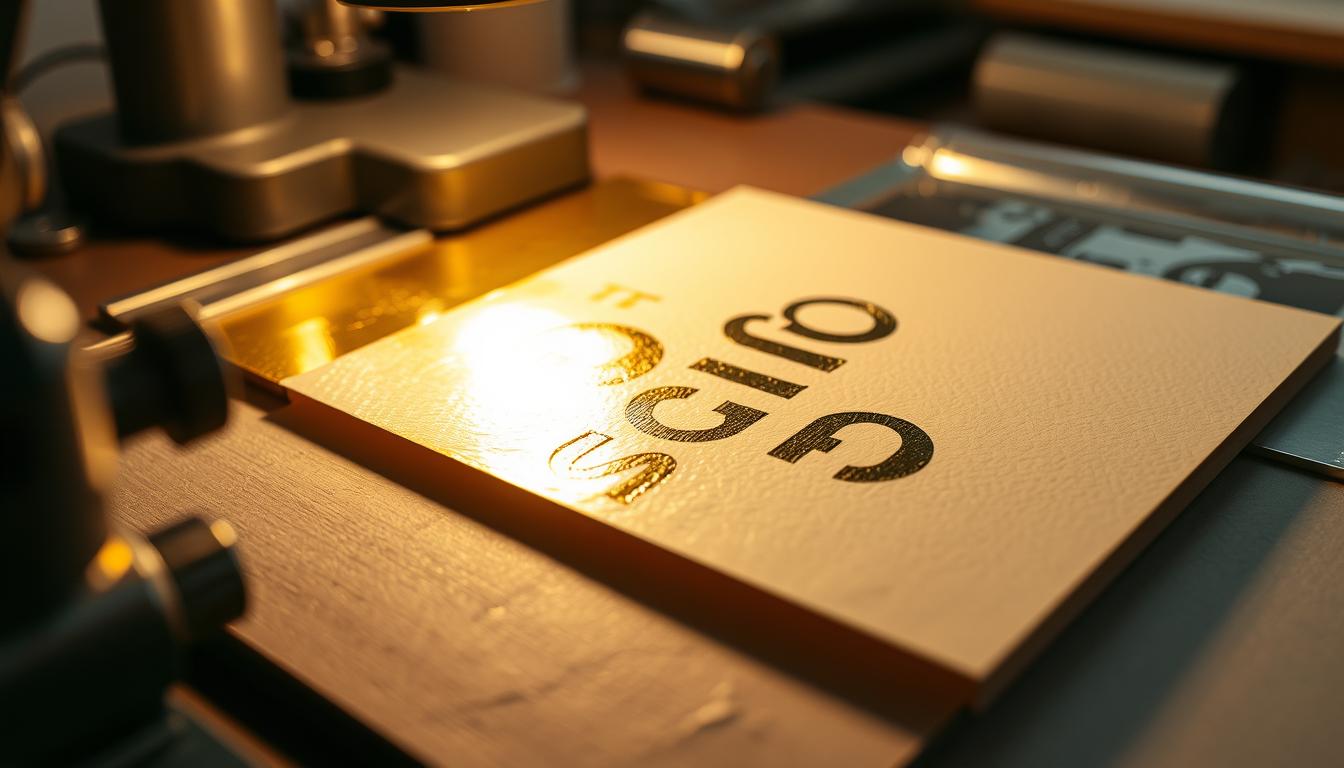
Hot foil stamping is a unique printing method that makes images stand out. It uses heat to add metallic foil to materials, creating a shiny, raised look. This technique is great for adding a touch of luxury to items like plastic, glass, and paper.
This guide will teach you the basics of hot foil stamping. You’ll learn about the different foils, where to use them, and how to design your artwork. It’s perfect for anyone looking to enhance their branding with this eye-catching method.
Key Takeaways #
- Hot foil stamping is a printing technique that creates raised, shiny images on various materials.
- The process involves using a heated die to transfer metallic foil onto a substrate.
- Hot foil stamping is popular for branding purposes and can be applied to plastic, glass, and paper products.
- This guide covers the basics of hot foil stamping, including types of foils, applications, process steps, and design considerations.
- Understanding the key requirements for preparing hot stamping artwork is crucial for achieving high-quality results.
Understanding Hot Foil Stamping Basics #
Hot stamping, also known as hot foil stamping, is a unique printing method. It uses heat and pressure to create a raised, embossed effect. This makes the substrate look luxurious and durable.
What Makes Hot Stamping Different #
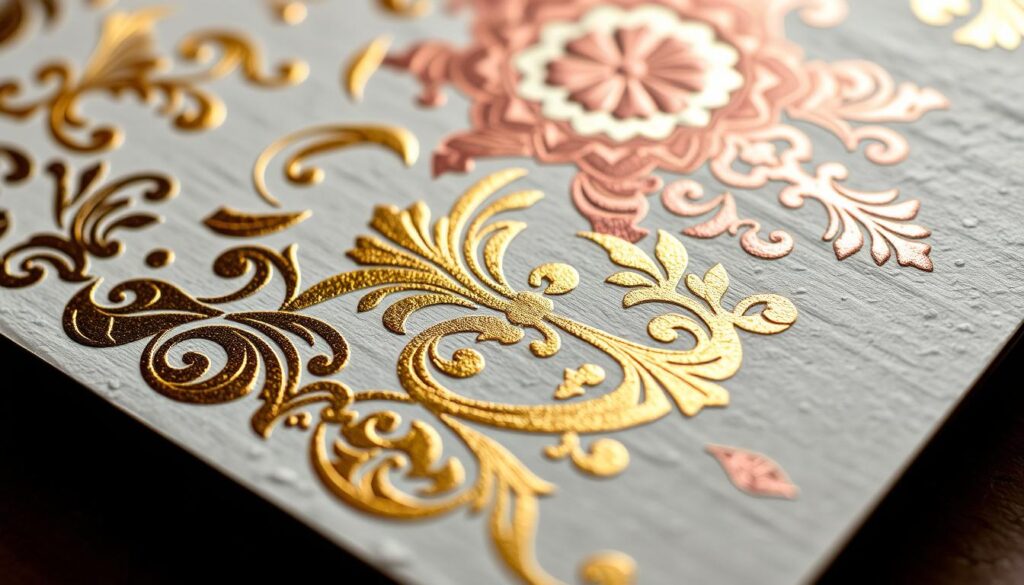
Hot stamping stands out because it uses heat and pressure. This transfers metallic or colored foil onto the surface. It creates intricate designs and logos with a three-dimensional finish.
This technique is great for luxury products, packaging, and promotional materials. It makes them look premium and high-end.
Benefits of Hot Stamping Technology #
- Durability: Hot stamped designs last long and resist wear and tear.
- Luxurious Appearance: The metallic or colored foil gives a premium look and feel.
- Versatility: It works on many substrates, like paper, plastic, and fabric.
Common Applications and Uses #
Hot stamping is popular for many uses, including:
- Branding and labeling of luxury products
- Decorative accents on packaging, such as plastic containers and boxes
- Promotional materials, such as business cards, invitations, and book covers
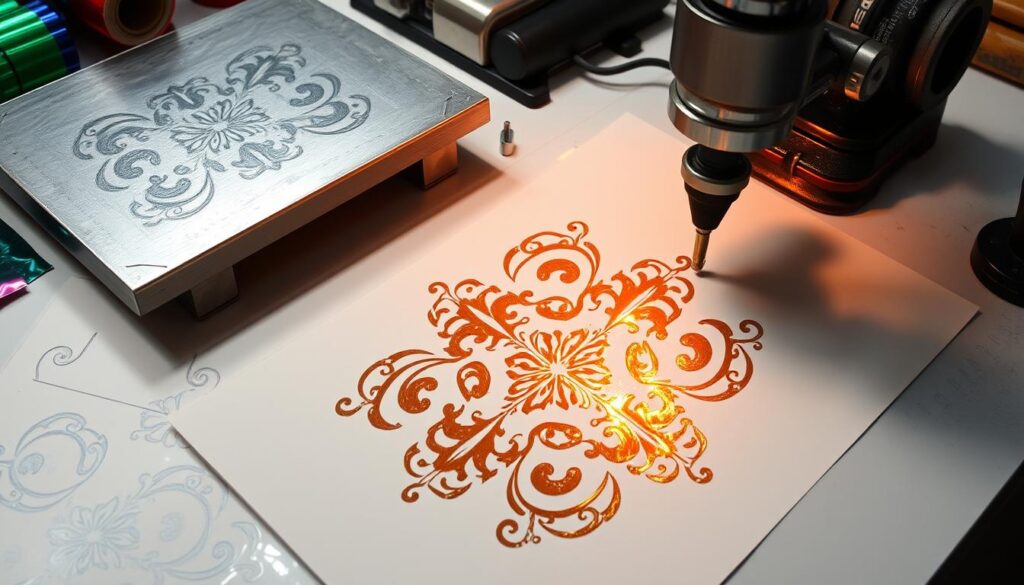
The process starts with designing and transferring the design to a plate. Then, a die is created. Finally, heat and pressure transfer the foil onto the substrate. This method allows for detailed designs that other techniques can’t match.
| Hot Stamping Techniques | Hot Stamping Process |
|---|---|
|
|
Knowing the basics of hot stamping helps designers and printers. They can use this versatile technique to make their projects look better and more valuable.
Essential Tools and Materials for Hot Stamping #
Mastering hot stamping needs the right tools and materials. You’ll need specialized equipment and a variety of foils. Each part is key to getting great results. Let’s look at what you need to improve your hot stamping projects.
Hot Stamping Equipment #
The core of hot stamping is the stamping press. These machines vary from manual to semi-automatic. They meet different project needs. A good hot stamp press is essential for consistent, precise work.
Foil Options #
Foil choice is vital in hot stamping. You can pick from metallic (gold, silver, copper) and non-metallic colors. Each offers a unique look, matte or glossy. Finding the right foil for your project is crucial.
Choosing the right tools and materials is key for top-notch hot stamping projects.
Accessory Tools #
- Metal or plastic dies for custom designs
- Exposure unit for making hot foil polymer dies
- Brass type for personal touches and monograms
- Tools to improve print quality and ease production
These tools and materials work together to enhance hot stamping materials. They create stunning results on various substrates, like leather, paper, plastic, and packaging.
Knowing each component’s strengths lets you use hot stamping tools to their fullest. You can create designs that grab your audience’s attention.
Preparing Hot Stamping Artwork #
Creating top-notch foil stamping artwork needs careful attention and following certain rules. To get the best results, knowing how to prepare your artwork is key.
Vector Art Requirements #
Vector-based artwork is best for foil stamping. This type of graphic scales well and keeps lines sharp. Make sure your artwork is made with vector software like Adobe Illustrator.
Resolution Guidelines #
If your artwork isn’t vector, aim for a 300 ppi resolution in grayscale. This high resolution ensures your foil stamping details are clear.
File Format Specifications #
Use a vector format like Adobe Illustrator (.ai) or Encapsulated PostScript (.eps) for your artwork. These formats work well with foil stamping equipment. Stay away from raster formats like JPEG or PNG, as they can lose quality.
When getting your artwork ready, remove color gradients and reverse solid color areas. This step improves the foil stamping outcome and gives a consistent, high-quality finish.
“Attention to detail is the key to successful foil stamping. By following the vector art requirements, resolution guidelines, and file format specifications, you can create stunning foil stamping designs that truly stand out.”
Choosing the Right Foil Types and Colors #
Choosing the right foil types and colors is key in hot foil stamping. It’s all about getting the look you want. You can pick from metallic, matte metallic, and matte colors, each with its own special touch.
Metallic foils stand out with their shiny finish and bold look. They come in many colors, like gold, silver, copper, and bronze. For a softer look, matte metallic foils offer a semi-gloss finish with more colors.
Matte color foils give you the most color choices. They might not be as shiny as metallic, but they can still make a big impact. This is especially true when you match them with the right background color.
When picking foil, think about the background color too. It can change how the foil looks. For plastic containers, you might use a plastic die for more detailed designs.

“The right choice of foil can elevate your design, transforming it into a captivating and unforgettable visual experience.”
Knowing about foil options and how they work with the background opens up new creative paths. It lets you create amazing hot foil stamping designs that really grab people’s attention.
Design Considerations for Hot Stamping Success #
To succeed in hot stamping, focus on design details. Key factors include minimum line thickness, space between elements, and reverse artwork guidelines. These principles help improve your preparing hot stamping artwork and hot stamping techniques for amazing results.
Minimum Line Thickness #
Make sure your lines are at least 1 point thick for hot stamping. For reverse printing, lines should be 2 points or thicker. This prevents fading or blurry edges during the process.
Space Between Elements #
Keep a 1/8 inch (3.175 mm) space around each color or design. This space helps with color registration, ensuring a clean finish. Use the same foil for overlapping designs for a seamless look.
Reverse Artwork Guidelines #
Use reverse artwork for solid-color backgrounds. It saves on foil and looks cleaner. Removing foil from background areas creates a striking contrast and highlights your design.
Following these guidelines will enhance your preparing hot stamping artwork and hot stamping techniques. It’s all about the details for stunning hot stamped designs.
| Design Element | Recommended Specification |
|---|---|
| Minimum Line Thickness | 1 point (standard), 2 points (reverse printing) |
| Space Between Elements | 1/8 inch (3.175 mm) |
| Reverse Artwork | Strategically remove foil from background areas for a clean, professional look |
Step-by-Step Hot Stamping Process #
Hot stamping is a versatile printing technique that creates a stunning, high-quality finish on a wide range of materials. It involves several key steps to ensure a durable and visually appealing final product. Let’s dive into the step-by-step hot stamping process:
- Design Creation: Start by creating your design on a computer using vector-based software. This ensures the artwork is scalable and can be easily transferred to the printing plate.
- Printing Plate Transfer: Once the design is finalized, it is transferred to a printing plate, which will be used to create the die.
- Die Cutting: The printing plate is then used to cut the die to the exact dimensions required for the hot stamping process.
- Heating and Pressing: The die is heated to a specific temperature and then pressed against the substrate, creating a precise imprint of the design.
- Foil Transfer: During the pressing stage, the hot die transfers the foil to the substrate, creating a durable, metallic-like finish.
- Excess Foil Removal: Any excess foil on the surface is then carefully removed, leaving behind a clean, professional-looking result.
This multi-step hot stamping process is the key to achieving a long-lasting, high-quality finish that resists wear and tear. The use of heat and pressure ensures a secure bond between the foil and the substrate. This makes hot stamping a popular choice for a variety of applications, from packaging to signage.

By understanding the intricacies of the hot stamping techniques, you can ensure your designs are printed with the utmost precision and quality. This delivers a visually stunning result that meets the needs of your target audience.
Color Selection and Matching Techniques #
Hot foil stamping comes with a variety of metallic colors. But picking the right color can be tricky because different foil makers have their own standards. For example, gold foils can look different from one maker to another.
When you’re using foil stamping design with more than one color, it’s wise to stick to two colors. Make sure there’s at least 1/16 inch of space between them. This helps avoid colors mixing together.
Metallic Color Options #
The colors you can use for hot foil stamping include gold, silver, and copper. You can also find unique colors like rose gold, bronze, and shimmering iridescent shades. To make sure colors match, use guides like the Pantone Metallic Coated or Pantone Solid Coated palettes.
Working with Matte Finishes #
Hot stamping can also create matte finishes, which are less shiny. But, matte finishes might not be as crisp as metallic ones. They could also spread during the stamping process.
When using matte finishes, it’s important to think about the material and how you’re stamping it. This helps get the best look possible.
“Foil stamping adds a unique aesthetic to print that other methods might not achieve.”
Troubleshooting Common Hot Stamping Issues #
Hot foil stamping is becoming more popular among entrepreneurs. However, they might face challenges in getting consistent, high-quality results. Issues include messy prints from molten metal splatters or foil getting stuck on die edges. Color matching, especially with metallic foils, can also be tricky.
Working with hot stamping professionals is key. They can offer advice on design and help solve problems. They know how to adjust the foil stamping machine’s temperature for different foils and papers.
Entrepreneurs should know the limits of hot stamping. It can’t do multi-color designs and is pricier than other printing methods. But, with the right experts, businesses can still get great results. This is true for labels, packaging, and other customized items.


